Creating and Uploading a Model Viewer with 3D Photo Mesh from DroneDeploy
OVERVIEW
This guide will take you through the steps to exporting your Map Viewer from DroneDeploy and uploading to your Vault asset.
HOW TO USE IT
Export you 3D Photo Mesh Model from DroneDeploy
Login to DroneDeploy and locate your Project.
Select MODEL at the bottom of the map, move Point Cloud slider to be 'OFF'
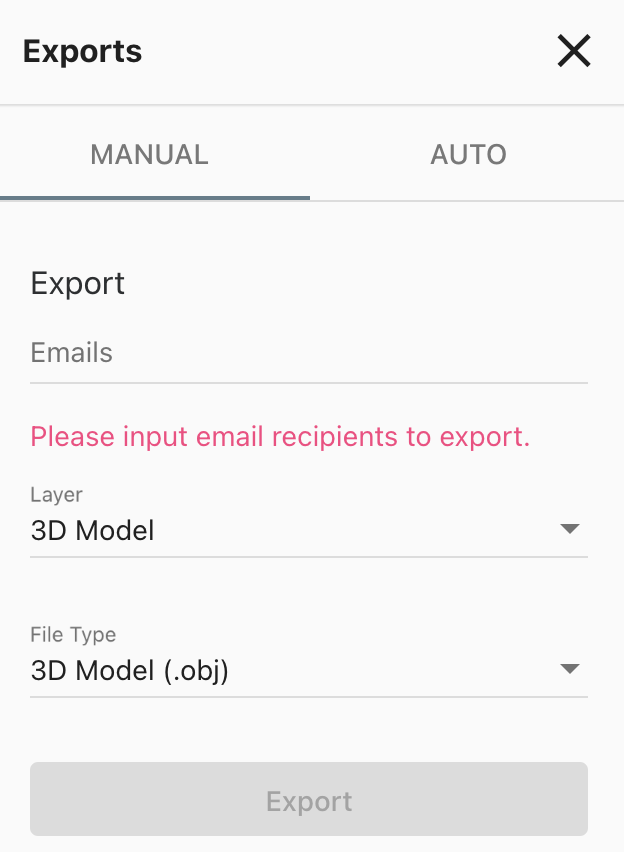
Hit Export button at the bottom. Now you need to set up the export by selecting the following:
- Email: The recipient who will be uploading to Vault
- Layer: 3D Model
- File Type: 3D Model (.obj)
Then click 'Export'.
Select export and the file will be emailed to the above recipient.
Save the file into the desired location and unzip the folder. Rename it to something relating to the asset (they are always named points.las)
NOTE: Forge requires the name of the zip file to be the same as the .obj file within it – uses the file name to figure out what to upload, so you may need to change this once you’ve downloaded it (for the 3D mesh).
Zip/Compress the file for delivery to the Vault Support team. They will then upload it to the Azure Blob Storage and provide you back a SAS token.
Create Model Viewer App and upload 3d Photo Mesh Model in Vault
Now in Vault, create the Model Viewer App
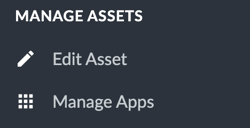
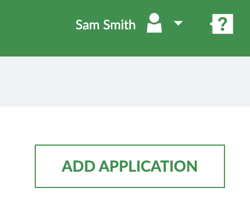
Manage Apps > Add application > Map Viewer


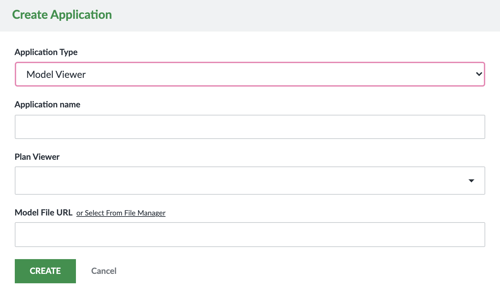
Complete the fields as follows:
-
Name it as appropriate – ideally “Drone Mesh – 12 December” (i.e. DD Month)
-
Model File URL, paste in the SAS token URL

Click 'Create' and once the 3D Photo Mesh is uploaded, go to the Model Viewer App itself and click 'Approve'. If you don’t see the grey Approve bar at the top of the Vault screen, you need to ask someone who has appropriate permissions to do this.

Once this has been approved you are all set.
